
How to Install Jenkins 2 on CentOS / RHEL 7
Jenkins is a Java-based, open-source automation server.

Jenkins is a Java-based, open-source automation server. Jenkins is used to automate all sorts of tasks related to building, testing and delivering or deploying software. Jenkins is a fork of Project Hudson and it is maintained by the original Husdon developers since the Hudson had been acquired by Oracle. However, Jenkins has been evolved very much since its inception from Hudson.
In DevOps, this automated process of building, testing and delivering is called CI/CD (Continuous Integration / Continuous Delivery) pipeline.
CI (Continuous integration) is a practice in which team members regularly commits their code changes to the version control repository (such as git or svn), after which automated builds and tests are performed using build tools (such as Apache Ant, Apache Maven, Gradle, Junit, etc).
CD (Continuous delivery) is a series of practices where code changes are automatically built, tested and deployed to production.
In this article, we will install Jenkins 2 on CentOS 7 server. Although the same steps can be used to install Jenkins on Red Hat Enterprise Linux (RHEL) 7.
System Specification:
We have provisioned a CentOS 7 virtual machine with following specification:
| Hostname | jenkins-01.example.com |
| IP Address | 192.168.116.130/24 |
| Operating System | CentOS 7.6 |
Install OpenJDK 8 on CentOS 7:
Since, Jenkins is a Java application therefore it requires JVM (Java Virtual Machine) to execute. Jenkins 2 is the current major version and it requires Java 8.
Connect to jenkins-01.example.com using ssh and install OpenJDK from CentOS 7 yum repository.
[root@jenkins-01 ~]# yum install -y java-1.8.0-openjdk-devel
...
Installed:
  java-1.8.0-openjdk-devel.x86_64 1:1.8.0.191.b12-1.el7_6

Dependency Installed:
  copy-jdk-configs.noarch 0:3.3-10.el7_5
  dejavu-fonts-common.noarch 0:2.33-6.el7
  dejavu-sans-fonts.noarch 0:2.33-6.el7
  fontconfig.x86_64 0:2.13.0-4.3.el7
  fontpackages-filesystem.noarch 0:1.44-8.el7
  giflib.x86_64 0:4.1.6-9.el7
  java-1.8.0-openjdk.x86_64 1:1.8.0.191.b12-1.el7_6
  java-1.8.0-openjdk-headless.x86_64 1:1.8.0.191.b12-1.el7_6
  javapackages-tools.noarch 0:3.4.1-11.el7
  libICE.x86_64 0:1.0.9-9.el7
  libSM.x86_64 0:1.2.2-2.el7
  libX11.x86_64 0:1.6.5-2.el7
  libX11-common.noarch 0:1.6.5-2.el7
  libXau.x86_64 0:1.0.8-2.1.el7
  libXcomposite.x86_64 0:0.4.4-4.1.el7
  libXext.x86_64 0:1.3.3-3.el7
  libXi.x86_64 0:1.7.9-1.el7
  libXrender.x86_64 0:0.9.10-1.el7
  libXtst.x86_64 0:1.2.3-1.el7
  libfontenc.x86_64 0:1.1.3-3.el7
  libjpeg-turbo.x86_64 0:1.2.90-6.el7
  libxcb.x86_64 0:1.13-1.el7
  lksctp-tools.x86_64 0:1.0.17-2.el7
  python-javapackages.noarch 0:3.4.1-11.el7
  python-lxml.x86_64 0:3.2.1-4.el7
  ttmkfdir.x86_64 0:3.0.9-42.el7
  tzdata-java.noarch 0:2018g-1.el7
  xorg-x11-font-utils.x86_64 1:7.5-21.el7
  xorg-x11-fonts-Type1.noarch 0:7.5-9.el7

Complete!
yum has installed OpenJDK and its dependent packages.
Java executables has been automatically added to PATH environment variable. Therefore, we are only required to set the JAVA_HOME environment variable.
[root@jenkins-01 ~]# echo "export JAVA_HOME=/usr/lib/jvm/java-1.8.0-openjdk-1.8.0.191.b12-1.el7_6.x86_64" >> /etc/profile
[root@jenkins-01 ~]# . /etc/profile
[root@jenkins-01 ~]# env | grep JAVA_HOME
JAVA_HOME=/usr/lib/jvm/java-1.8.0-openjdk-1.8.0.191.b12-1.el7_6.x86_64
Verify Java version.
[root@jenkins-01 ~]# java -version
openjdk version "1.8.0_191"
OpenJDK Runtime Environment (build 1.8.0_191-b12)
OpenJDK 64-Bit Server VM (build 25.191-b12, mixed mode)
OpenJDK has been installed and configured successfully.
Install Jenkins 2 on CentOS 7:
Jenkins is available to install in various forms.
- Individual RPM:
Individual RPMs are available for every version of Jenkins, but one has to resolve dependencies manually. - Jenkins yum Repository:
A Yum repository is provided for Jenkins packages. Here, dependent packages will be installed automatically. - Generic Web Archive:
This Java web archive requires to be executed either using java command or should be deployed on a Jave EE Server (e.g Apache Tomcat) to work.
We will use Jenkins yum repository, because, it is quite simple to understand and in this method dependencies will resolved automatically.
Jenkins can be downloaded from Jenkins official website. Jenkins website also provides commands to install jenkins yum repository on CentOS 7.
Install jenkins yum repository using the following commands.
[root@jenkins-01 ~]# wget https://pkg.jenkins.io/redhat-stable/jenkins.repo -O /etc/yum.repos.d/jenkins.repo
--2019-01-08 00:14:26--  https://pkg.jenkins.io/redhat-stable/jenkins.repo
Resolving pkg.jenkins.io (pkg.jenkins.io)... 52.202.51.185
Connecting to pkg.jenkins.io (pkg.jenkins.io)|52.202.51.185|:443... connected.
HTTP request sent, awaiting response... 200 OK
Length: 85
Saving to: â/etc/yum.repos.d/jenkins.repoâ

100%[======================================>] 85          --.-K/s   in 0s

2019-01-08 00:14:27 (5.48 MB/s) - â/etc/yum.repos.d/jenkins.repoâ saved [85/85]

[root@jenkins-01 ~]# rpm --import https://pkg.jenkins.io/redhat-stable/jenkins.io.key
Build yum cache for faster access to repositories.
[root@jenkins-01 ~]# yum makecache
Loaded plugins: fastestmirror
Loading mirror speeds from cached hostfile
 * base: mirrors.ges.net.pk
 * extras: mirrors.ges.net.pk
 * updates: mirrors.ges.net.pk
base                                                     | 3.6 kB     00:00
extras                                                   | 3.4 kB     00:00
jenkins                                                  | 2.9 kB     00:00
updates                                                  | 3.4 kB     00:00
Metadata Cache Created
Install Jenkins using yum command.
[root@jenkins-01 ~]# yum install -y jenkins
Loaded plugins: fastestmirror
Loading mirror speeds from cached hostfile
 * base: mirrors.ges.net.pk
 * extras: mirrors.ges.net.pk
 * updates: mirrors.ges.net.pk
Resolving Dependencies
--> Running transaction check
---> Package jenkins.noarch 0:2.150.1-1.1 will be installed
--> Finished Dependency Resolution

Dependencies Resolved

================================================================================
 Package          Arch            Version                Repository        Size
================================================================================
Installing:
 jenkins          noarch          2.150.1-1.1            jenkins           72 M

Transaction Summary
================================================================================
Install  1 Package

Total download size: 72 M
Installed size: 72 M
Downloading packages:
jenkins-2.150.1-1.1.noarch.rpm                             |  72 MB   10:53
Running transaction check
Running transaction test
Transaction test succeeded
Running transaction
  Installing : jenkins-2.150.1-1.1.noarch                                   1/1
  Verifying  : jenkins-2.150.1-1.1.noarch                                   1/1

Installed:
  jenkins.noarch 0:2.150.1-1.1

Complete!
Start and enable jenkins service.
[root@jenkins-01 ~]# systemctl start jenkins
[root@jenkins-01 ~]# systemctl enable jenkins
jenkins.service is not a native service, redirecting to /sbin/chkconfig.
Executing /sbin/chkconfig jenkins on
Allow Service Port 8080/tcp in Linux Firewall.
[root@jenkins-01 ~]# firewall-cmd --permanent --add-port=8080/tcp
success
[root@jenkins-01 ~]# firewall-cmd --reload
success
Browse URL http://192.168.116.130:8080/jenkins using a client browser.
Obtain the autogenerated password from the given file.
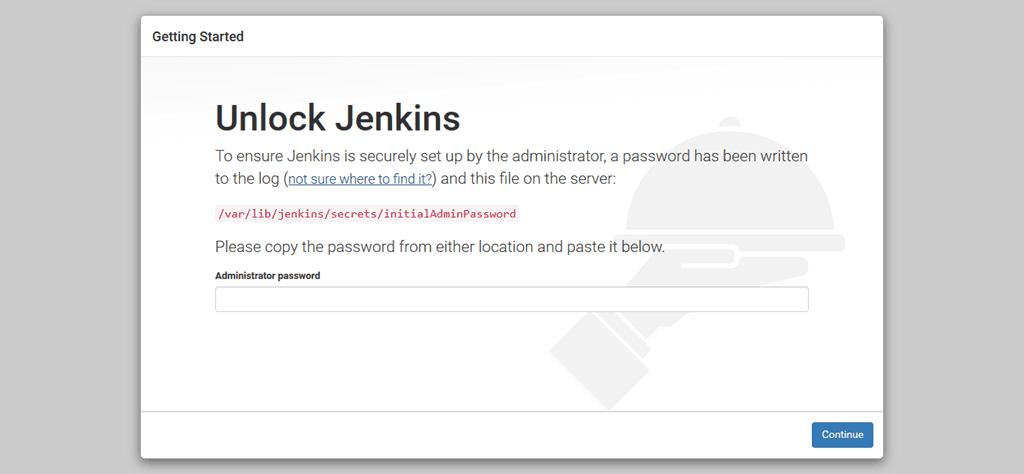
[root@jenkins-01 ~]# cat /var/lib/jenkins/secrets/initialAdminPassword
1f6a106d9af642909ad0ecc5abd8afec
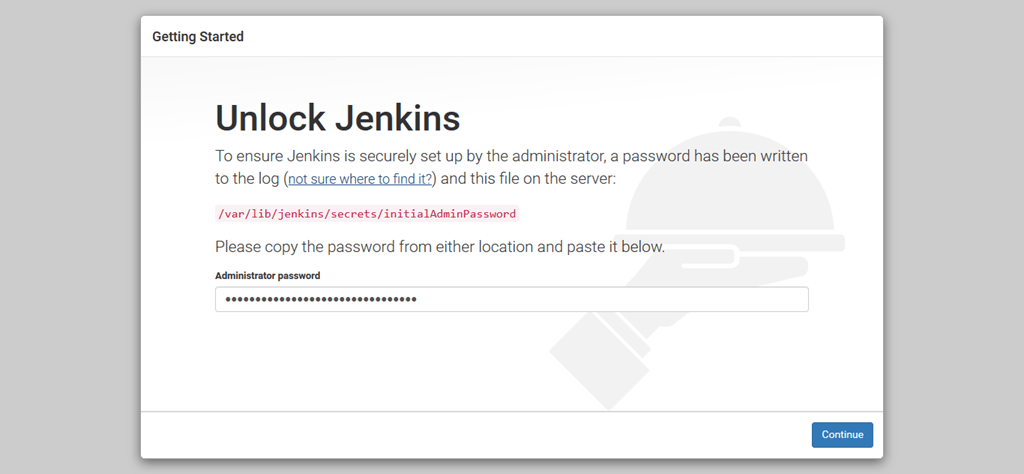
Unlock Jenkins using this password.
Click on continue.
Click on Install Suggested Services.
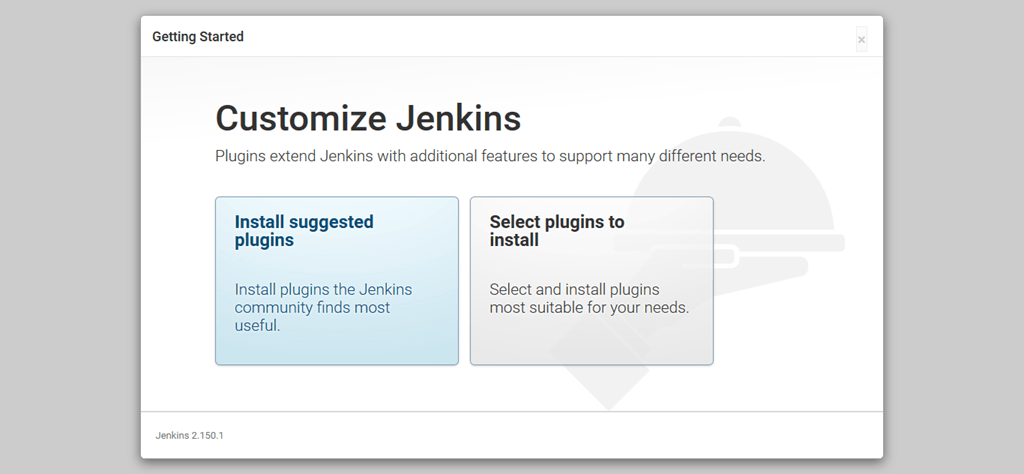
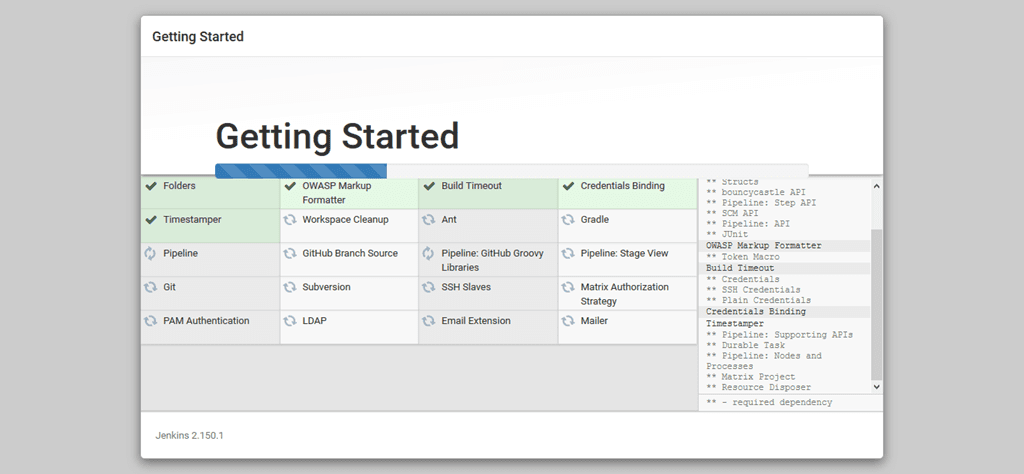
Jenkins will install most commonly used plugins such as Apache Ant, Gradle, Git, etc.
Create an Admin user here.
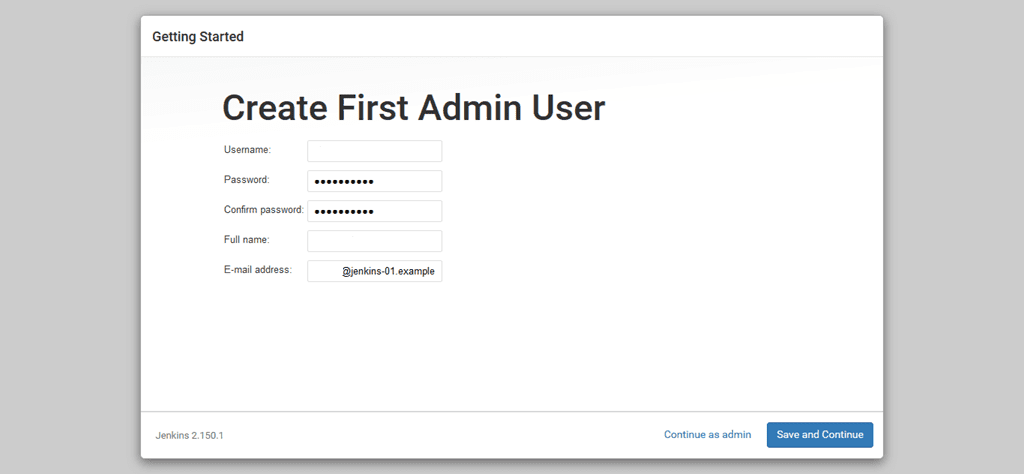
Click on Save and Continue.
Jenkins provide a root URL here for accessing its various resources.
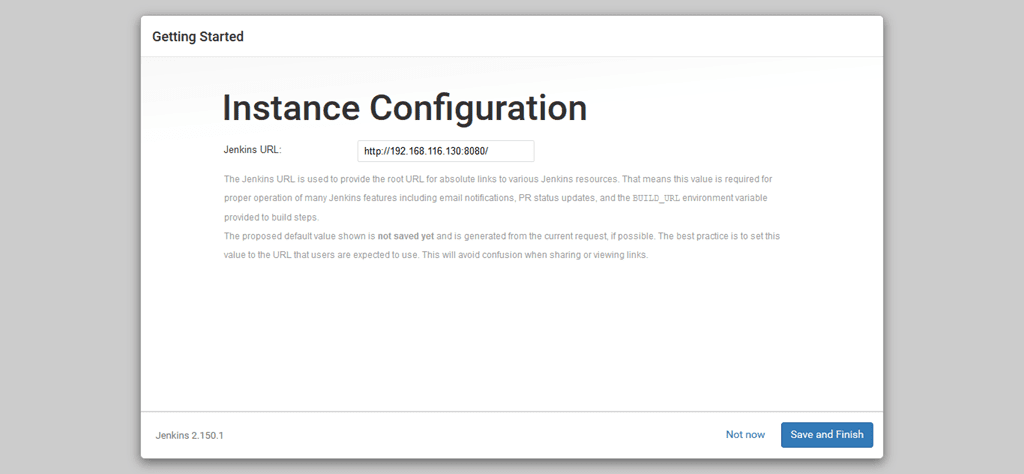
If you are happy with it then click on Save and Finish.
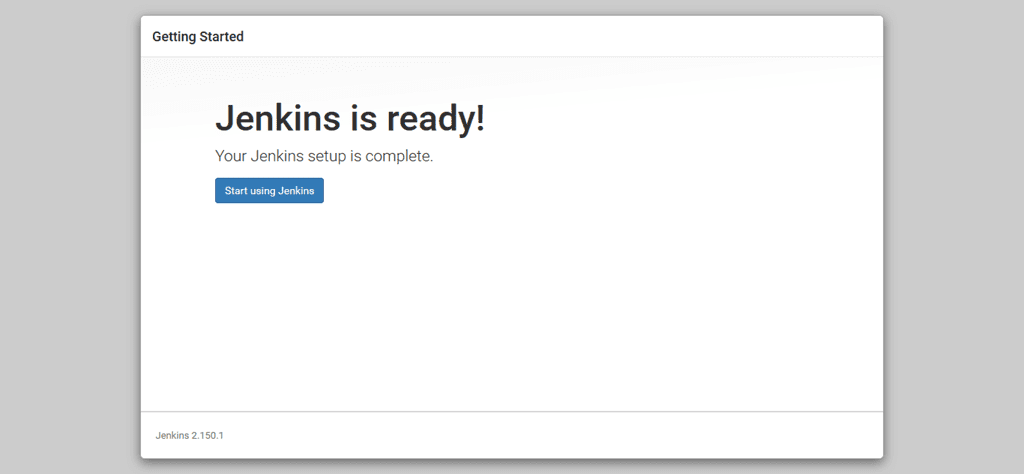
Jenkins has been successfully configured.
Click on Start using Jenkins.

Welcome to Jenkin!
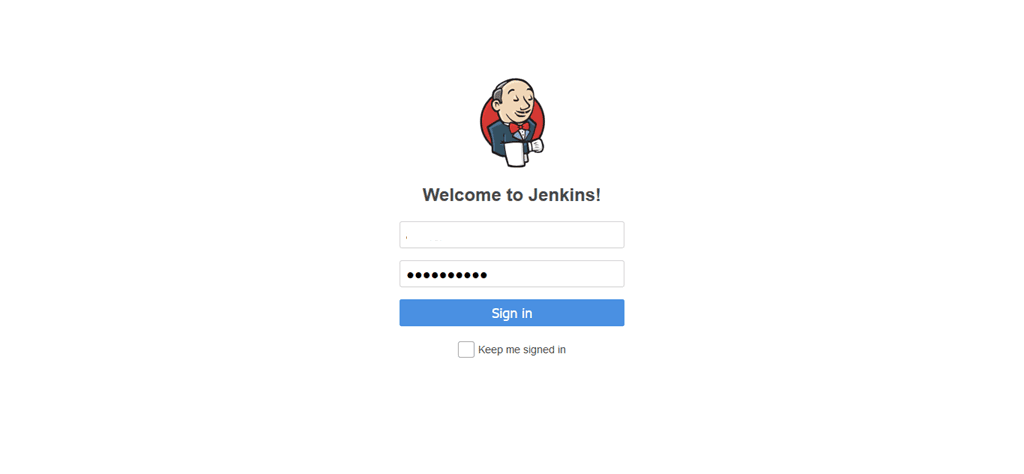
Login using the admin user that we have created with Jenkins Setup Wizard.
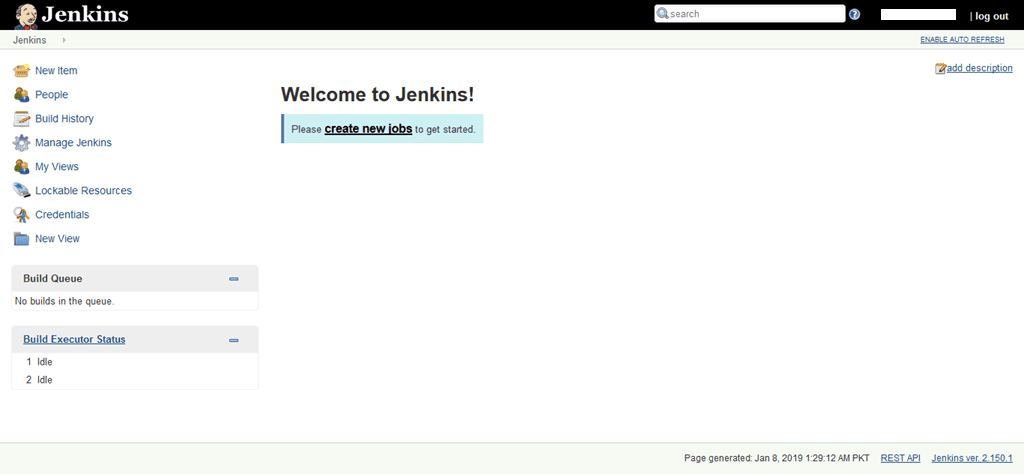
Installation of Jenkins 2 on CentOS 7 has been completed.
You can refer to Jenkins User Documentation to understand the workflow and getting start with Jenkins.